
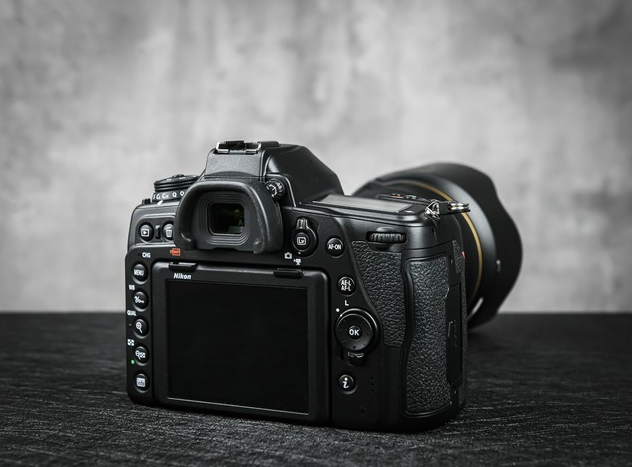
The inspection and testing standards for DSLR cameras and the experience in testing them
Here, I would like to share some of my experiences in inspecting and testing multiple single-lens reflex cameras. This is for those of you who have no experience in purchasing in person and who might find it useful for reference. How to inspect a single-lens reflex camera? The inspection and testing standards for single-lens reflex cameras, as well as the inspection experience, may be incorrect or incomplete. I sincerely hope that experienced veterans with more knowledge can correct or supplement them.
Notes:
A DSLR camera is, after all, a product that combines electronic technology and precise optical technology to a high degree. It is necessary to conduct a careful and thorough inspection when purchasing, and it is definitely beneficial with no drawbacks. Remember - checking is always better than not checking.
Given that DSLR cameras and lenses are relatively expensive optical equipment, and the inspection process is rather complicated. Unless it is absolutely necessary, it is strongly recommended not to purchase DSLR products and their lenses online.
For friends who purchase second-hand cameras, there are many differences between purchasing second-hand cameras and new ones in terms of inspection. Specific practices are still hoped to be supplemented by those with experience in purchasing second-hand cameras.
Here are the entire steps for the inspection:
Things to bring before going:
1. Notebook. It must contain four software: Exiftool GUI (used to check the shutter speed of the new camera), Dead Pixel Test (used to detect bad pixels in CCD or COMS), ACDSee 10 (for browsing RAW images), Photoshop.
2. If you don't have a notebook, bring a USB drive and the installation programs of the above four software. You can use JS's computer at that time.
3. A friend (it doesn't matter if they know about cameras, but they need to have good communication skills).
4. RMB
5. White gloves (it's best to wear them during the inspection. To avoid unnecessary troubles for JS).
Before conducting the machine inspection, let's be upfront with JS (the following conditions are my general practices, for reference only):
1. If there is any defect in the CCD, do not proceed.
2. If there are more than three bright spots (including three) on the LCD screen, do not proceed.
3. If there are obvious dust, fingerprints, or other marks on the lens, do not proceed.
4. If there are obvious fingerprints on the LCD screen of the body, do not proceed.
5. If the battery contacts are noticeably bright, do not use the battery.
6. If there are fingerprints or obvious abnormal marks on the reflector of the body, do not proceed.
7. If the shutter count exceeds 300, do not proceed (this rule is only applicable to Pentax machines).
8. If I can provide clear evidence to prove that this machine is a smuggled one (such as the warranty card number inside the box not matching the body number), do not proceed.
9. Other major defects (can be agreed upon with JS).
Inspection and testing of DSLR cameras
Inspection method:
1. Bring the box over and briefly inspect the packaging of the case. Mainly check if there are any signs of being opened.
2. Do not let JS open it. Have JS stand far away and do it yourself.
3. Open the box, inspect each item inside the box one by one, including the documents, warranty card, accessories, etc. Do not move the body and the lens for now.
4. Wear gloves and inspect the body. Mainly check if there are any fingerprints on the LCD, if the viewfinder, battery compartment, and card compartment have obvious dust accumulation.
5. Open the body cover and quickly check the reflector and lens mount to confirm there are no problems. Then close the body cover (note that this action should be done as quickly as possible because prolonged exposure to the reflector can easily cause dust to enter the body, and JS won't like it. Also, do not use your hands or other objects to scratch the reflector. It's probably not something JS would do either).
6. Open the lens packaging and inspect the lens. Mainly check if there are any obvious marks on the mirror surface and the lens barrel (the mirror surface of a brand-new lens is very clean). Align the lens with the light source and check if there are any obvious foreign objects inside. Gently shake the lens twice and listen for any obvious loose sounds. Check the lens mount to see if there are any obvious signs of use.
7. Inspect the battery. Mainly check if there are any obvious bright marks on the contacts. If there are obvious bright spots, it may indicate that it is not a brand-new battery.
Now let's install the batteries, turn on the machine, and check the CCD highlights.
1. Turn on the machine and take a few random shots to allow the machine to warm up for 2-3 minutes.
2. Put on the lens cover and switch to full manual mode.
3. Set the machine to the maximum aperture, shutter speed of 2 seconds, disable internal noise reduction, and disable image stabilization.
4. Start from ISO 800 and go up to the highest ISO (generally up to ISO 1600 is sufficient), take one shot at each ISO value. Save in the RAW maximum format.
5. Import the all-black image into the computer, convert to JPG format, use the Dead Pixel Test software, test each photo.
6. If there are bad points in the test results (note, not noise points. Noise points are not important), record the coordinates of each bad point. See if the bad points shown in each photo are all at the same coordinate.
7. Set the "bad point limit value" in Dead Pixel Test to 200 and 150 respectively, and repeat steps 5 and 6.
8. In a well-lit environment, point at a white sheet, set the exposure compensation to +1, and repeat steps 3 and 4.
9. Import the all-white image into the computer, in Photoshop, reverse the color of the hundred images to black, save. Then repeat steps 5, 6, and 7.
Use the Exiftool GUI to check the shutter count of the camera.
For the specific usage of this Exiftool GUI software and how to check the shutter speed, you can search online by yourself. There is a lot of relevant information and it's quite simple. So, I won't go into too much detail here.
Now let's start checking the LCD highlights (this is quite simple)
1. Put on the lens cover and take a picture of a completely black image
2. Browse the image on the LCD and use your eyes to check for any bright spots
If everything goes smoothly in the above process:
1. Take some more random photos
2. First, put all the items (note, all the items) into the box and seal it, then go to pay the money (to prevent JS from swapping the accessories when you pay)
3. Pay the money
4. Issue the invoice
5. Ask for the store's business card
6. Leave
Finally, let me add one more point:
Many netizens have said that if it's a new device, after plugging in the battery and turning it on, the first thing that appears should be the "Language Selection" and "Date/Time Setting" screens. Otherwise, one might suspect that it's an old machine that has been used before.
Now it seems that this statement is not entirely accurate. I have accompanied my friends to purchase several machines several times. After plugging in the battery and turning it on, it was indeed the "Language Selection" and "Date/Time Setting" screens. However, the merchants often do not allow you to make the language and date settings but instead make you skip these two screens. The reason is that: the merchants are worried that after you set them, if you don't need it anymore, this machine won't be able to be sold well.
Therefore, after turning it on, the first thing that appears might be the "Language Selection" and "Date/Time Setting" screens, which could also be an old machine or even a sample machine.
分享这个商品
The inspection and testing standards for DSLR cameras and the experien
As sophisticated optical and electronic devices, the quality of DSLR cameras directly affects the imaging effect and user experience.