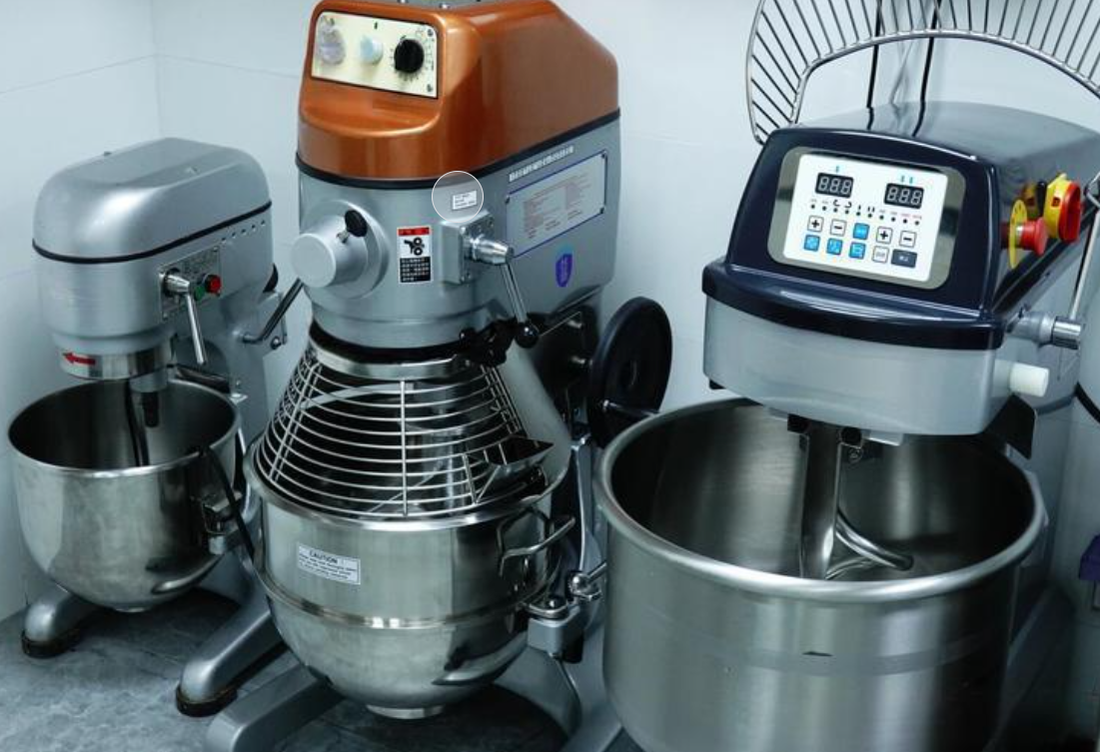
Mixer inspection, testing and inspection knowledge sharing
A blender is the ideal kitchen assistant for making meringues, creamy sauces, dough and all kinds of baked goods.
So, how should a blender be inspected? What tests do professional inspectors perform?
The core inspection points include: packaging, labeling, identification, product appearance and craftsmanship, box marking and various on-site tests.
The on-site test items are as follows:
-
Shipping drop test (not suitable for fragile products)
After 10 drop tests according to ISTA 1A standards, the product and packaging should not have fatal or serious defects. -
Product size/power cord length/product weight measurement <br>Measurement is based on product specifications and confirmed samples. If the customer does not specify the tolerance requirement, a ±3% tolerance is used.
-
Barcode scanning check <br>All barcodes should be scannable normally and the scanned information should be accurate.
-
Assembly and installation inspection <br>The assembly should be completed smoothly according to the instructions and there should be no problems in the whole process.
-
Coating Adhesion Test <br>Use 3M 600 tape (or tape of equivalent performance) to perform adhesion test on the painted, hot stamped, UV coated and printed areas. The peeling area shall not exceed 10%.
-
High voltage test <br>Apply a specified voltage between specified components for 1 second, with a leakage current limit of 5mA:
-
For the US or Canadian market: 1200V AC voltage
-
Class I appliances sold in Europe: 1000V AC
-
Class II appliances sold in Europe: There should be no insulation breakdown during the 2500V AC voltage test.
-
-
Power consumption or input power/current check <br>The measured power consumption, input power and current values must comply with product specifications and relevant safety standards.
-
Power cord pull test
-
IEC standard : Apply force 25 times based on the product's net weight: 30N for ≤1kg, 60N for 1kg-4kg, and 100N for >4kg. After the test, the linear displacement must not exceed 2mm.
-
UL standard : Apply a pulling force of 35 pounds (about 155.7N) and maintain it for 1 minute. The power cord should not move.
-
-
Inspection of internal structure and key components <br>Check the internal structure and components according to the critical components list (CDF/CCL).
-
Rated label friction test and printed label adhesion test <br>First wipe the label with a wet cloth for 15 seconds, then wipe it with a gasoline cloth for 15 seconds. There should be no defects such as falling off and blurring.
-
Stability check <br>Place the product (with or without contents) on a 15-degree inclined plane in normal use, and place the power cord in the most unfavorable position. The appliance should not fall over.
-
Motor stall test <br>Lock the motor at rated voltage. The product must not pose a danger to the user and the surrounding environment, and the casing material must not ignite, burn or melt the metal.
-
Fan blade hardness check <br>The fan blade hardness should not be lower than the required value (usually not less than 45HRC).
-
Actual use test
-
Juicer : Use orange halves and run for 24 cycles at rated voltage (15 minutes on and 15 minutes off per cycle).
-
Blender : Mix carrots and water in appropriate proportions to the maximum scale and run 10 cycles (3 minutes of work and 1 minute of standby per cycle).
After testing, there should be no leakage, blockage, rupture or other malfunctions.
-
-
Speed check <br>The operating speed should comply with product specifications.
-
Stability test <br>Place the product on a 10-degree inclined plane (15 degrees for heating appliances) in normal use, with the power cord in the most unfavorable position. The appliance should not fall over.
-
Noise test <br>When measured at 1 meter from the equipment, the operating noise should not exceed 85 decibels.
Share this product

Mixer inspection, testing and inspection knowledge sharing
A blender is the perfect kitchen accessory for making meringues, creamy sauces, dough, baked goods, and more. How do you inspect a blender? How do professional inspectors conduct blender inspections? Inspection key points include: packaging, labeling, logos, product, box marking, appearance, and craftsmanship, as well as on-site testing.
