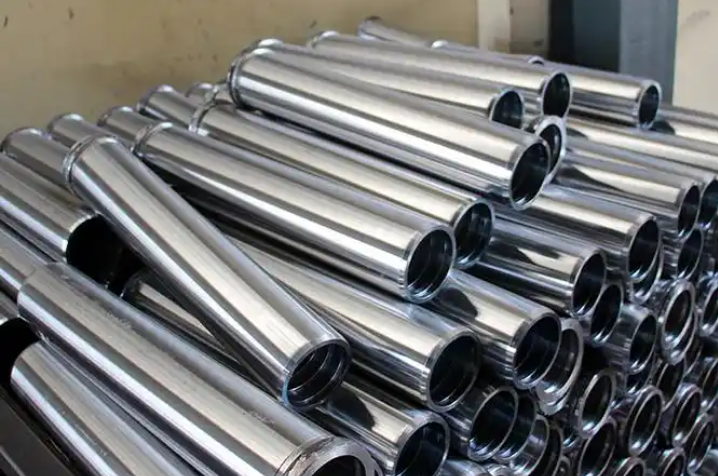
Inspection | Inspection Standards and Methods for Electroplated Products
1. Film thickness inspection
Film thickness detection is the primary step in electroplating quality control, primarily performed using an X-ray fluorescence spectrometer (X-RAY). This device excites atoms in the coating by emitting X-rays and analyzes the energy intensity of the returned fluorescence spectrum to determine the coating thickness and composition. In actual operation, special attention should be paid to the following:
-
Equipment calibration management: Spectral calibration must be performed daily when the machine is turned on, gold-nickel standard calibration must be performed weekly, and cross-line optical calibration must be completed monthly to ensure that the measurement system error is controlled within ±5%.
-
Establishment of material database: Independent test files need to be established for different substrates (such as C19400 copper alloy, C7025 phosphor bronze, etc.). The files should include substrate composition (such as Sn content 4%), coating structure (such as Au/Ni/Cu) and thickness compensation coefficient.
-
Measurement specifications: The probe must be aligned vertically with the test surface. Each measurement point should be repeated three times to obtain the average value. For special-shaped terminals, key functional surfaces (such as contact areas) must be selected as required measurement points.
2. Adhesion test
Plating adhesion is a core indicator that affects product reliability and requires a combined testing method:
-
Bending test method:
-
Use an uncoated copper sheet with the same thickness as the sample as the gasket
-
Use electronic digital pliers with an accuracy of 0.01mm to perform 180° bending
-
Judgment standard: When the bending radius is ≤1mm, the coating has no cracking or peeling; when observed under a 50x microscope, the coating peeling area is ≤5%
-
Tape test method:
-
Use 3M #600 transparent tape and roll it 3 times with a 2kg pressure roller.
-
The tearing angle is strictly maintained at 90±5° and the speed is controlled at 300mm/s
-
Failure judgment: If the tape adhesion area ≥ 10% of the coating is considered unqualified
-
Failure analysis:
-
Use EDX spectrum to analyze the composition of the peeling surface and determine the failure interface (such as Ni/Cu interface)
-
Combined with X-RAY to measure the thickness of the residual coating and locate the problem process (such as insufficient pre-nickel plating thickness)
3. Solderability test
Welding performance evaluation requires simulation of actual production process conditions:
-
Direct immersion tin method:
-
Use no-clean rosin-based flux (ROSH compliant)
-
The tin furnace temperature is controlled at 235±2℃ and the immersion time is 5±0.5s
-
Acceptance criteria: Solder climbing height ≥ 2 times the terminal thickness, wetting angle ≤ 35°
-
Aging test:
-
Steam aging conditions: 85°C/85%RH environment, for 16 hours
-
After aging, 3 welding-desoldering cycles are required
-
Products with special requirements must pass the third level acceptance of J-STD-002B standard
4. Appearance Inspection
Adopting a graded inspection system:
-
Class A surface (contact functional area):
-
No particles with a diameter greater than 20 μm under a 50x microscope
-
Color difference ΔE≤1.5 (compared with standard color plate)
-
Surface roughness Ra≤0.2μm
-
Class B surface (non-functional area):
-
≤3 pits with a diameter of <50μm are allowed
-
Slight flow mark length ≤1mm
-
Slight discontinuous color difference is acceptable
-
Defect classification:
-
Fatal flaws: exposed bottom, blistering, cracks
-
Main defects: obvious color difference, foreign matter adhesion
-
Minor defects: slight scratches, water marks
5. Packaging inspection
Implementing a double-nuclear mechanism:
-
Inner Packing:
-
Anti-static carrier tape width tolerance ±0.2mm
-
Reel axial runout ≤1mm
-
Vacuum packaging humidity indicator card shows ≤10%RH
-
Outer packaging:
-
Corrugated cardboard edge compression strength ≥7KN/m
-
The stacking test passed the 3-layer 1.5m drop test
-
Label information includes RoHS/REACH compliance statement
6. Salt spray test
Select the test method based on the application scenario:
-
Standard Test (NSS):
-
5% NaCl solution, pH 6.5-7.2
-
Constant temperature of 35±1℃, sedimentation rate 1.5ml/80cm²/h
-
Judgment standard: No substrate corrosion after 96 hours
-
Accelerated test (CASS):
-
Add 0.26g/L CuCl₂
-
50±1℃ test temperature
-
Acceptance requirements: 8 hours is equivalent to NSS 96 hours effect
-
Failure determination:
-
Gold-plated parts: corrosion area ≤ 0.1%
-
Tinned parts: discoloration area ≤ 5%
-
If red rust appears, it is unqualified.
Special testing requirements
-
Porosity test:
-
Gold plating was performed using the nitric acid vapor method (25 μm filter paper)
-
Palladium nickel plating using gel electrolysis (0.5V voltage)
-
Acceptance criteria: Pore density ≤ 5/cm²
-
Environmental reliability:
-
High temperature and high humidity: 85℃/85%RH/1000h
-
Temperature cycle: -40℃~125℃/100 times
-
Sulfide test: according to ASTM B809 standard
Share this product

Inspection | Inspection Standards and Methods for Electroplated Produc
Typical inspection items for electroplated products include film thickness, adhesion, solderability, appearance, packaging, and salt spray testing. For products with specific drawing requirements, porosity testing (30U") is performed using the nitric acid vapor method for gold, gel electrolysis for palladium-nickel products, or other environmental testing.
